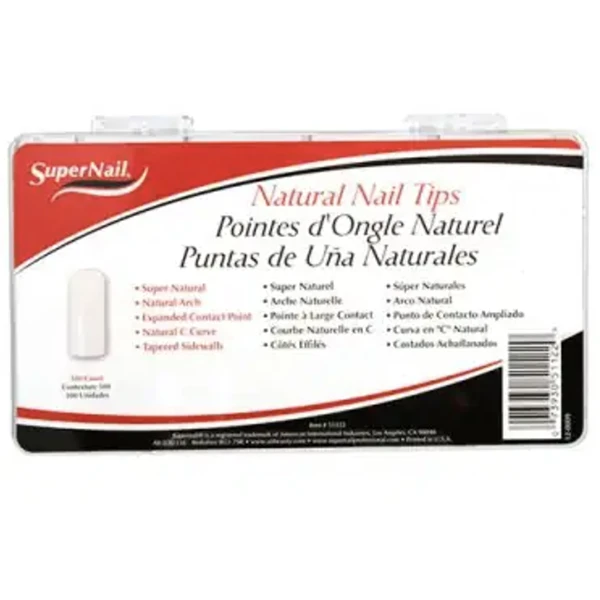
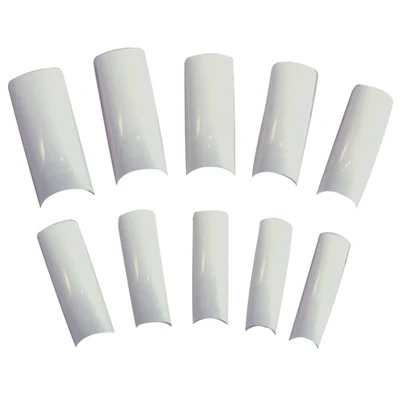
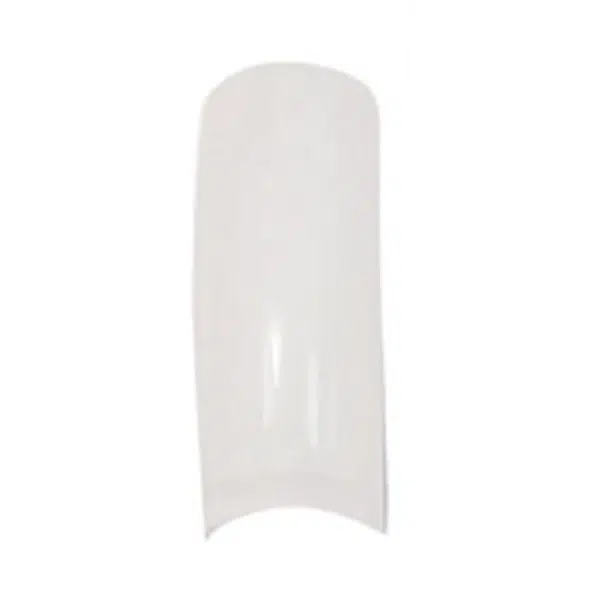
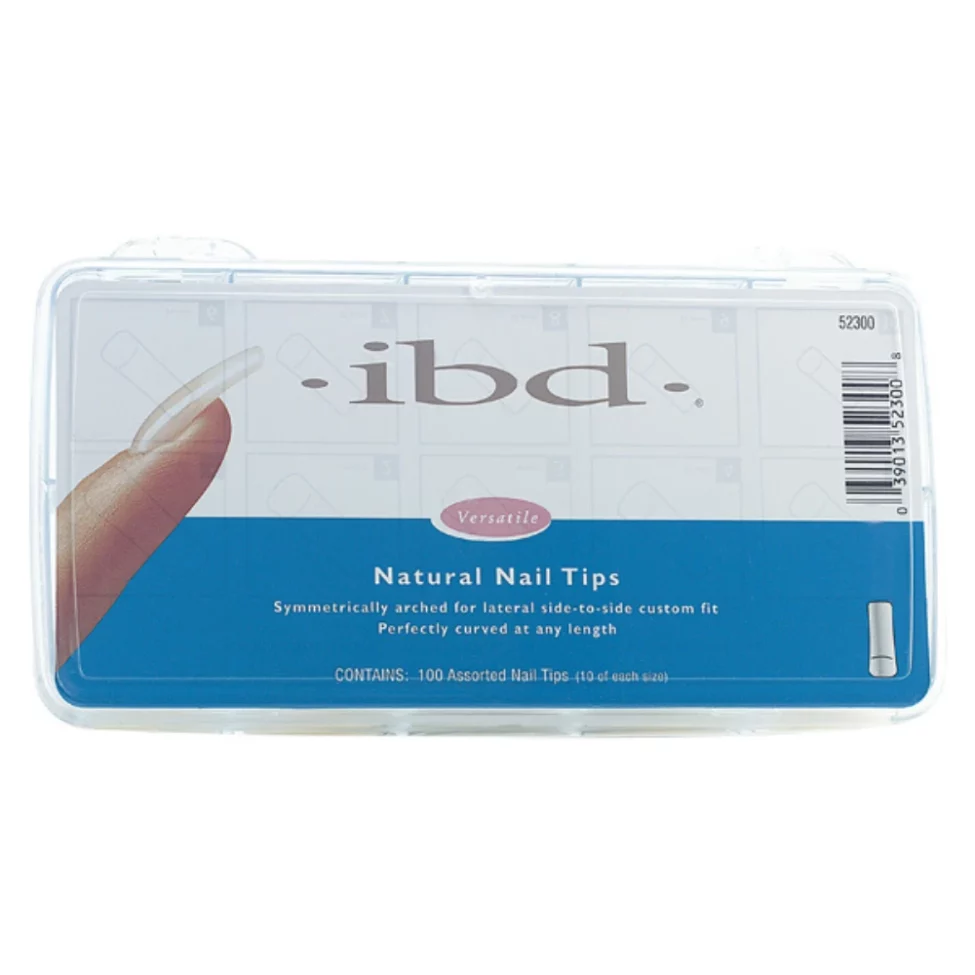
SuperNail Natural Nail Tips
Add length & Strength to your nail with natural white nail tips.
The universal shape has a natural arch that fits a wide range of nail shapes and sizes.
Create french Tips in any shape.
The half well for added reinforced strength and durability to all applications and sidewalls are tapered for precise application.
Nail tips are made of a strong bendable material called acrylonitrile butadiene styrene (ABS).
Attached to the natural nail to extend its length and provides room for more nail designs.
They can come in many different shapes, sizes, and colors, but the most popular ones are usually clear or white.
What are French Tips?
A French tip is one that fits on the nail and is used to create a French manicure look; is usually white and can be any shape. French tips are a good way to quickly create the French manicure look with either acrylic or gel systems because they serve as tip guides.
How to apply SuperNail Natural Nail Tips
Gather your materials. Anyone can apply tips at home, but you will need to have some special materials before you get started. To apply tips to your natural nails, you will need:
- Tips
- Nail adhesive gel
- Nail clipper
- Nail file
Follow the safety instructions included with your tips
Your tips and nail adhesive should come with some instructions for proper use and safety. Read these instructions carefully and follow any safety precautions for the product.
- For example, some nail products recommend working in a well-ventilated area.
Choose your tip size
Look through the tips and find one that matches each of your nails. The tips should be wide enough to cover your nail, but not so wide that they are overlapping the edges of your nails.
- Hold up multiple tips to each nail to find the best fit and then lay them out in the order that you will need them.
Brush a layer of topcoat onto your natural nails
Nail adhesive can wreck your nails, but applying a top coat before you apply the nail tips may help to protect them. However, keep in mind that the tips may not bond as tightly with your natural nails.
- If you are concerned about the health of your natural nails, apply a layer or two of clear topcoat before you apply the nails.
Apply the adhesive gel
Most Nail Tip sets include some adhesive gel with the nails, but if you can also buy nail adhesive separately. Pick up one tip by the end and apply a line of adhesive gel to the indented area of the tip.
- If the nail does not have an indented area, then just apply the adhesive gel along the curved edge of the nail. This is the edge that will need to overlap the end of your natural nail.
- Keep in mind that nail adhesive gel bonds quickly and it is quite strong. Make sure that you have the right nail before you press it onto your finger.
- If you make a mistake, apply some nail polish remover that contains acetone to the edge of the nail tip. This will help loosen it so that you can remove the nail tip and start over.
Press on the nail
Press the tip against your natural nail to ensure that the adhesive bonds tightly with your nail. If the tip has an indent in it, then you will need to push the nail back so that the edge meets up with the end of your natural nail. If there is no indentation, then just apply the nail tip about ¼ inch from the end of your nail
- Press on the nail for about five seconds to give the adhesive gel a chance to bond.
- Repeat this for all of your nails.